Pages

Friday, August 10, 2012

How To Make Edible Glue


Making Edible glue is a snap. There are different kinds of edible glue versions. This is the one I often use. Take 4tbs of water and mix in a 1/2inch ball of Gumpaste and leave it for 10-15min for the Gumpaste to dissolve. Make Gumpaste into tiny balls so that they sink and dissolve quickly. We can also use 1/4tsp of Gumtex instead of Gumpaste. Small amount of this Edible Glue comes a long way. This can be left on counter top for months. But I always refrigerate after couple of weeks as I feel much safer that way.

Wednesday, July 25, 2012

Target Themed Cupcakes


For these Cupcakes, I used German Chocolate cake mix, iced it with Cream cheese frosting and filled with Butterscotch Ganache. Butterscotch is one of the amazing flavors out there and these Cupcakes tasted awesome with it. Coming to my theme, I selected a Target theme so i did a red and white decoration. For the Target symbol I used a red round gummy for inside circle and red Cream Cheese frosting for outer circle. For the flower design, I used Tip#50 degree to layer flower and made a swirl circle in the center with Tip#3.  Make sure your room temperature is not warm and refrigerate right after decorating each cupcake to hold its shape, as Cream Cheese frosting melts so quickly. And the third is a diamond shaped star design. Here's a small Tutorial for it.

Put a dot and pull the dot outwards on four sides with a toothpick to make a diamond. And there you go, you have the shape. Put the dots horizontally/vertically as required and repeat the process. 

Wednesday, July 18, 2012

Fondant Bird tutorial

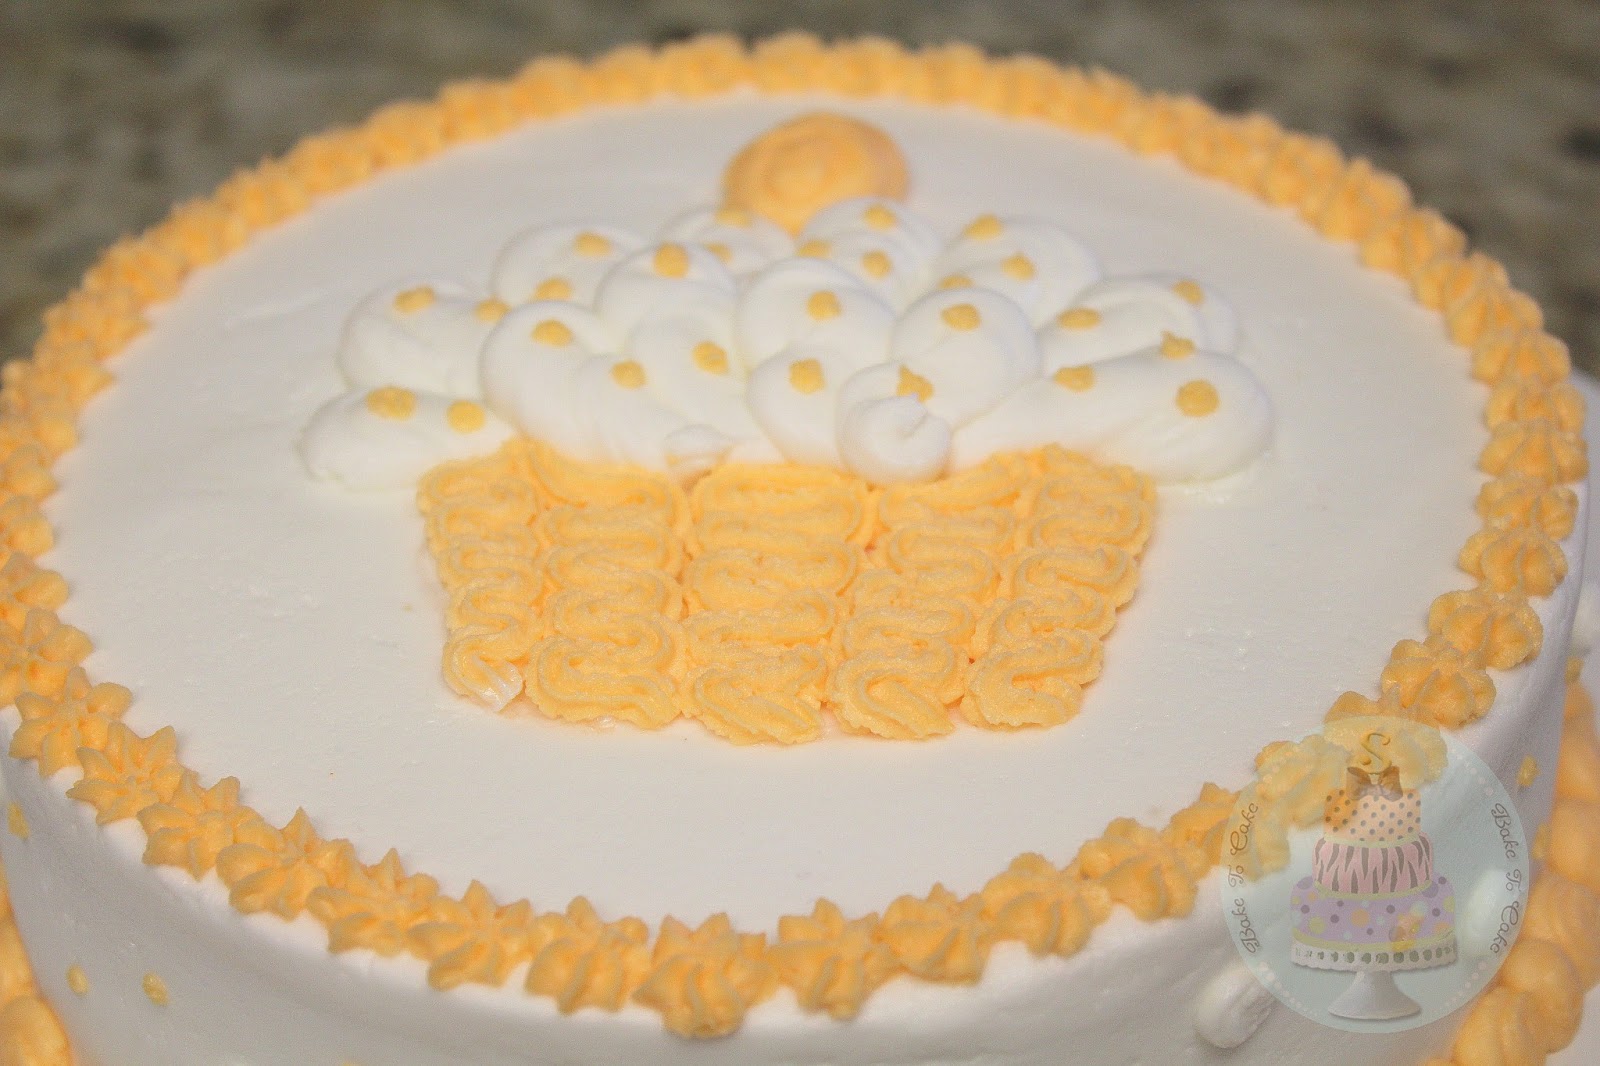
This is a basic bird tutorial which I used for my Basket Weave cake. This is a edible bird made with fondant. This is very easy to make and anyone can do it.


Required tools:


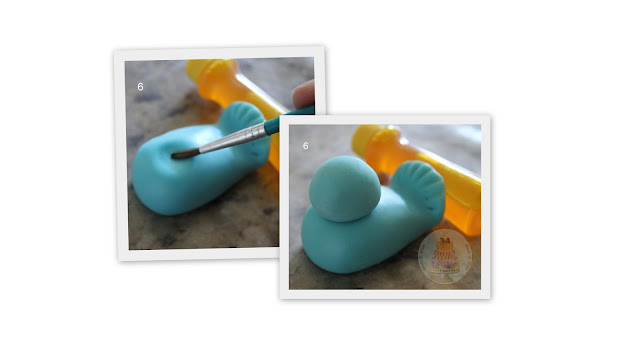
Take the Body, roll it into a tear drop shape. Bend top edge of the tear drop upward and flatten it to form a tail.


Make some impressions with the toothpick or any pointy tool on the tail. And also put a support for the tail until it holds its shape or till its dry.


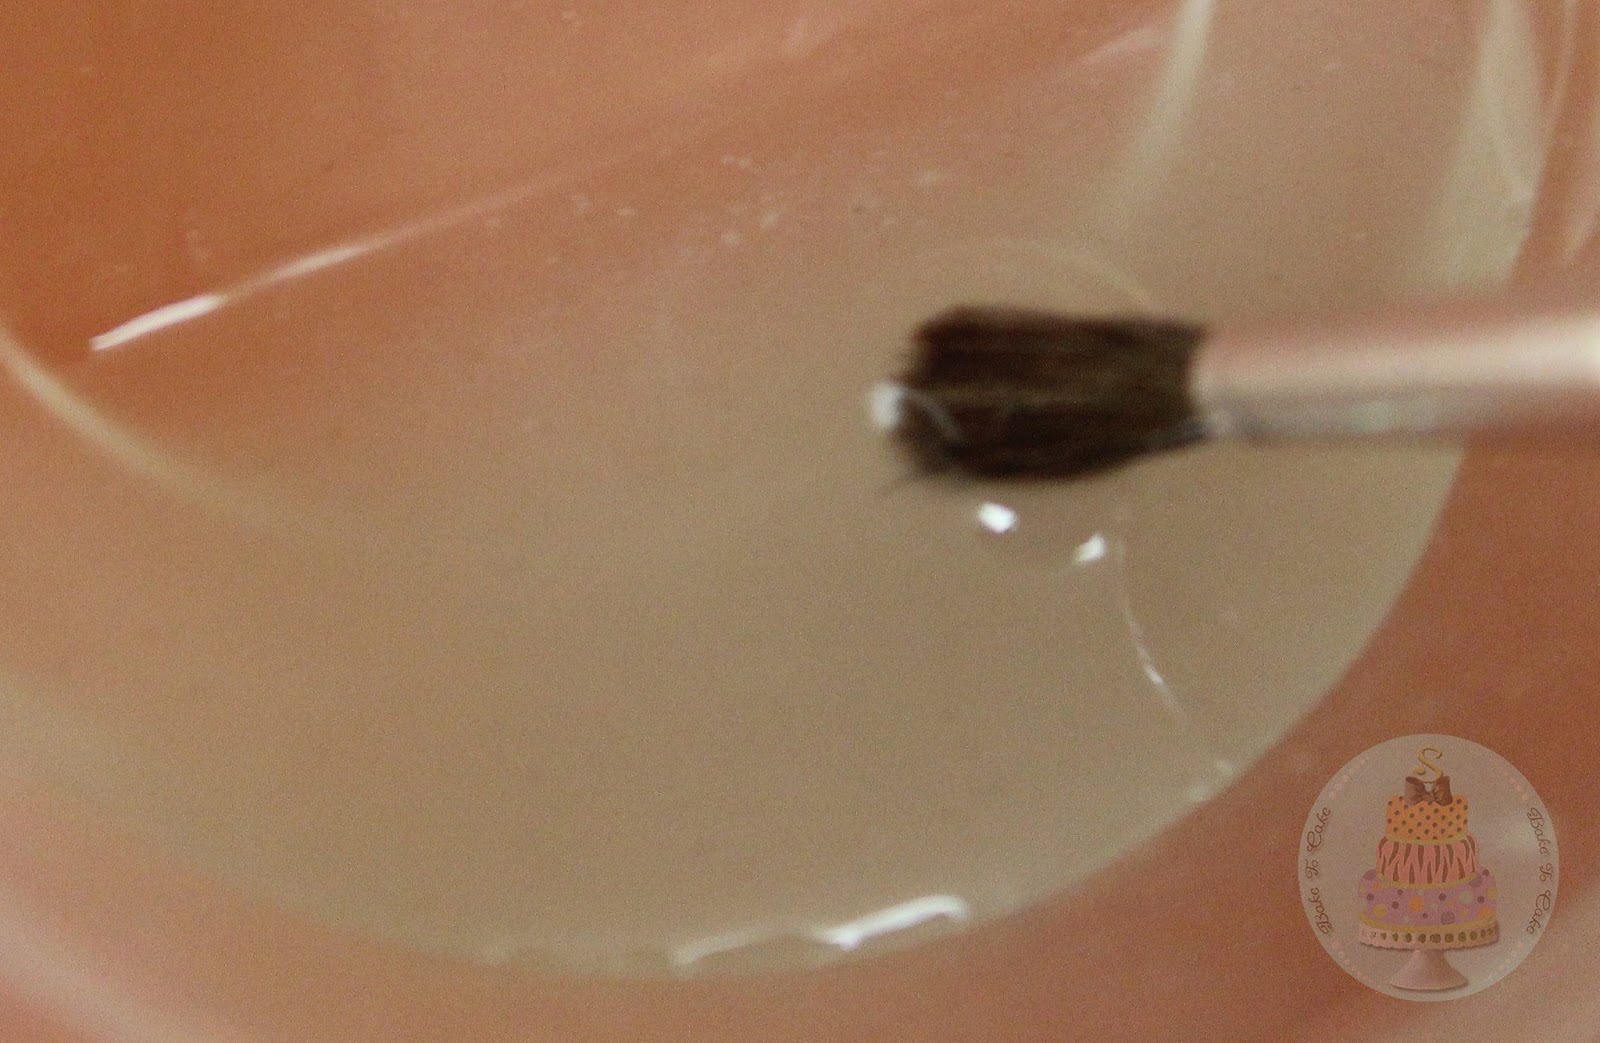
Make a round ball for the head. Apply some edible glue (check my tutorials page for how to make edible glue) with a brush and put the head in place.


Take the ball tool and make impressions for eyes and nose. Place the eyes using edible glue, first white and then black. For nose make a teardrop with yellow fondant and flatten it a bit to look like a beak. Put the beak in place and poke a small hole on both sides with the toothpick.
Roll the fondant and cut two teardrop shapes for the wings. Bend the point end of the teardrop shape upwards to make it look like a wing. Attach the wings with edible glue on each side. Take the toothpick and make some line marks.
Now the bird is finished. Lastly, I also added some funky hair and a white fur on front of the body. Let the bird dry for 3 to 4 days. And your edible bird is ready to impress ur family and friends especially kids.


Wednesday, July 4, 2012

Flower Basket Cake

I planned to make this Cake for my Wilton Course 2 "Flowers and Cake design" final class. I learned more about Royal icing and flowers in this course. Whats nice with the Royal icing is, you can make the flowers or any design way ahead and assemble them on the cake later. This makes easy and saves lot of time. I decided to do a basket weave Cake with flowers in it. I also made fondant birds, ladybugs and a handle to go on the cake. Click for Fondant bird tutorial and ladybug tutorial or check my tutorials page.  Heres my edible Basket Cake.


Tuesday, July 3, 2012

Basic Cake and Cupcake Decorations

Iam starting the first post with my Wilton course. This course is about Basic Cake Decorating. As a layman in cake decorating, this course really helped me. I learned how to make basic buttercream Icing, flowers, icing a cake and some basic stuff. My CupCake decorations from the course.


 This is my first cake - cupcake on a cake. I used the piping gel transfer technique and drew a cupcake design and then designed with Buttercream Icing.


For the last class, I had to take the iced cake ready and my instructor taught the ribbon rose and I decided to use those roses for my final cake. I think it turned out pretty good.